Display delivery areas on a page in your Shopify Store
Automatically display the delivery areas configured in Ship Sketch on your Shopify store
How does it work?
When enabled you will be able to install a Google map on a page in your store displaying your delivery areas and shipping prices. Everytime you update your delivery areas in the Ship Sketch app they will be automatically exported to your store.

Installation
1) Enable the delivery area map feature
Open the Ship Sketch app in your Shopify admin and then select “Store Delivery Map” from the navigation.
Then click on “Install Store Delivery Map”. This will ask you to approve a few new permissions that are needed for this feature
and then install the required javascript on your store. Your stores functionality will not be changed at this point.

2) Create a Google Maps API key
To display a Google Map on your store you need your own Google Maps API key. To generate one use our Google Maps API key guide.
Once generated copy this key into the “Google Maps API Key” field under “Map Settings”.

3) Add the delivery map to a page
This can be done in one of 2 ways:
a) With Online Store 2.0 using template blocks
If your store is using Shopify’s Online Store 2.0 you can add the map as a block to your theme.
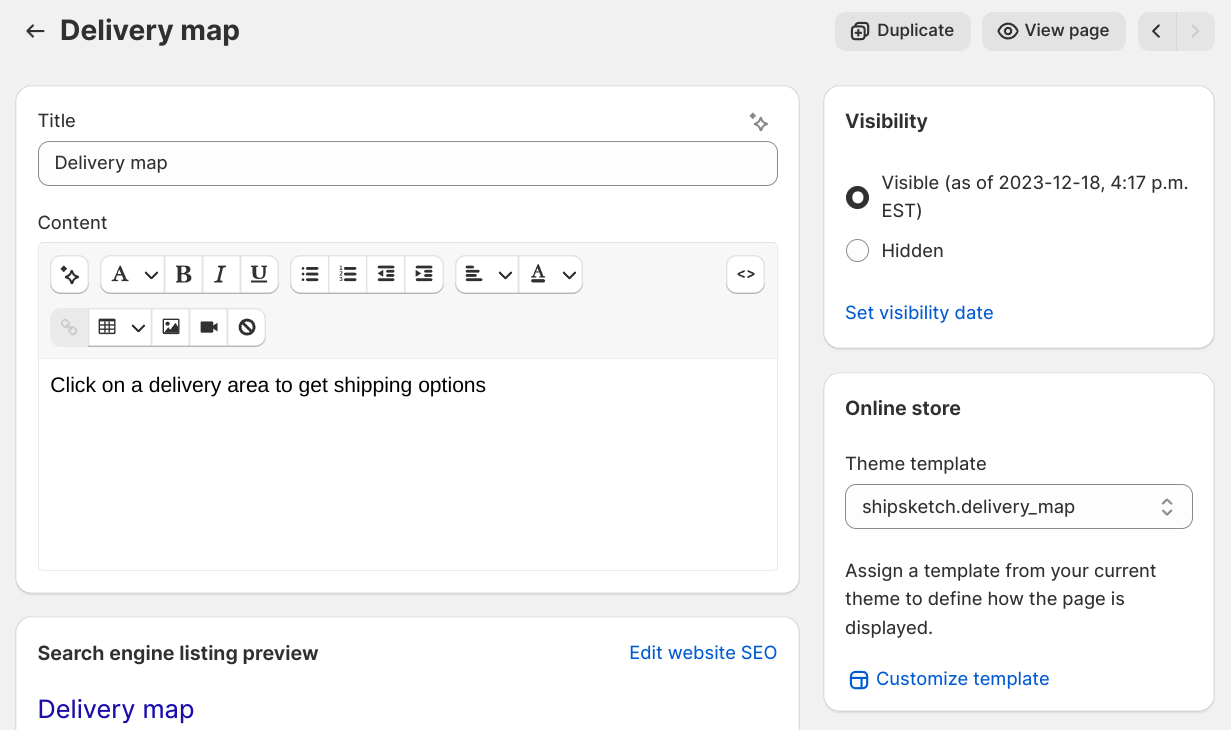
- In the admin goto “Online Store -> Pages”.
- Click on “Add page”.
- Add a page title and content that you want to display above the map. For example, you might have a title of “Delivery map” and content of “Click on a delivery area to get shipping options”.
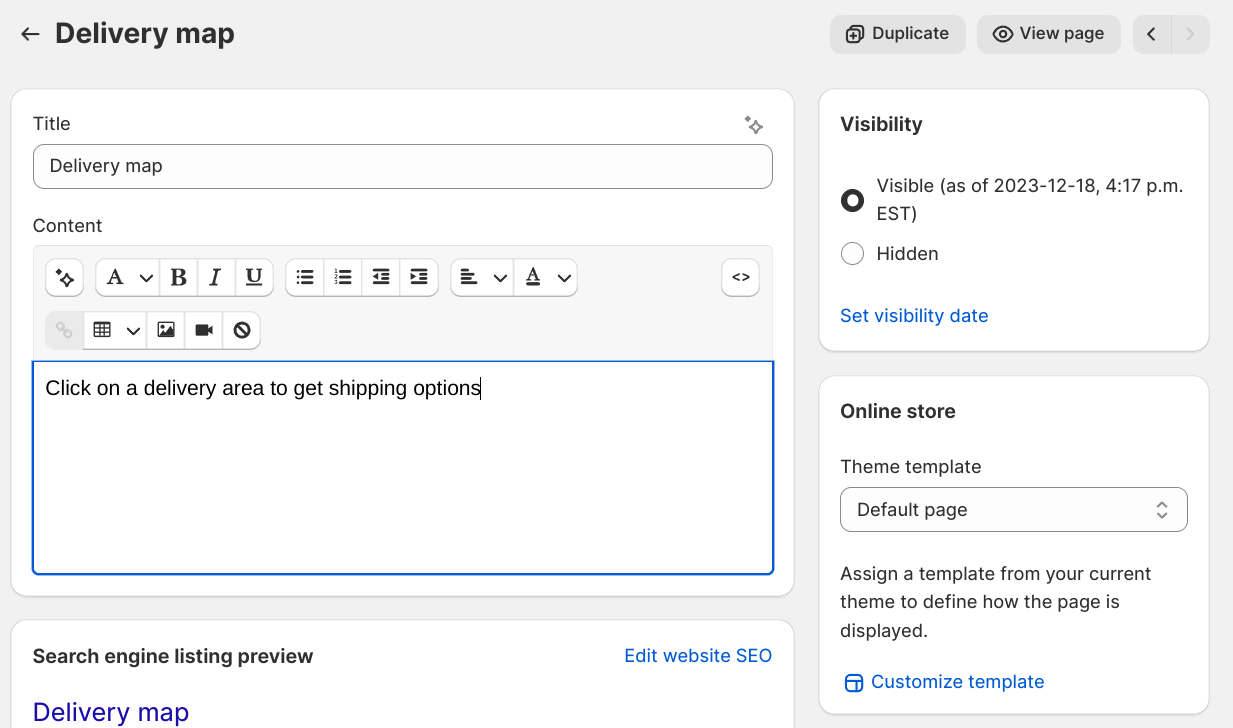
- Then on the right side click on “Customize template”.
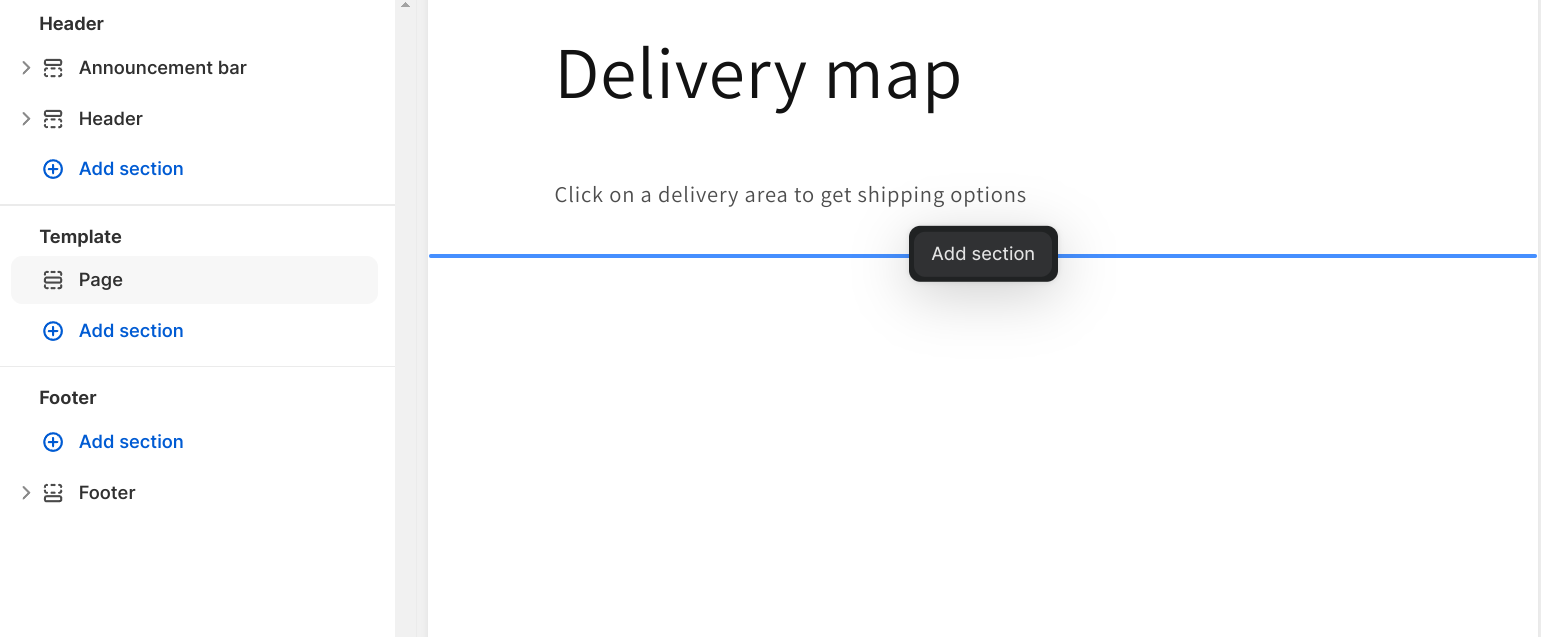
- Click on the “Add section” button where you wish to add the map.
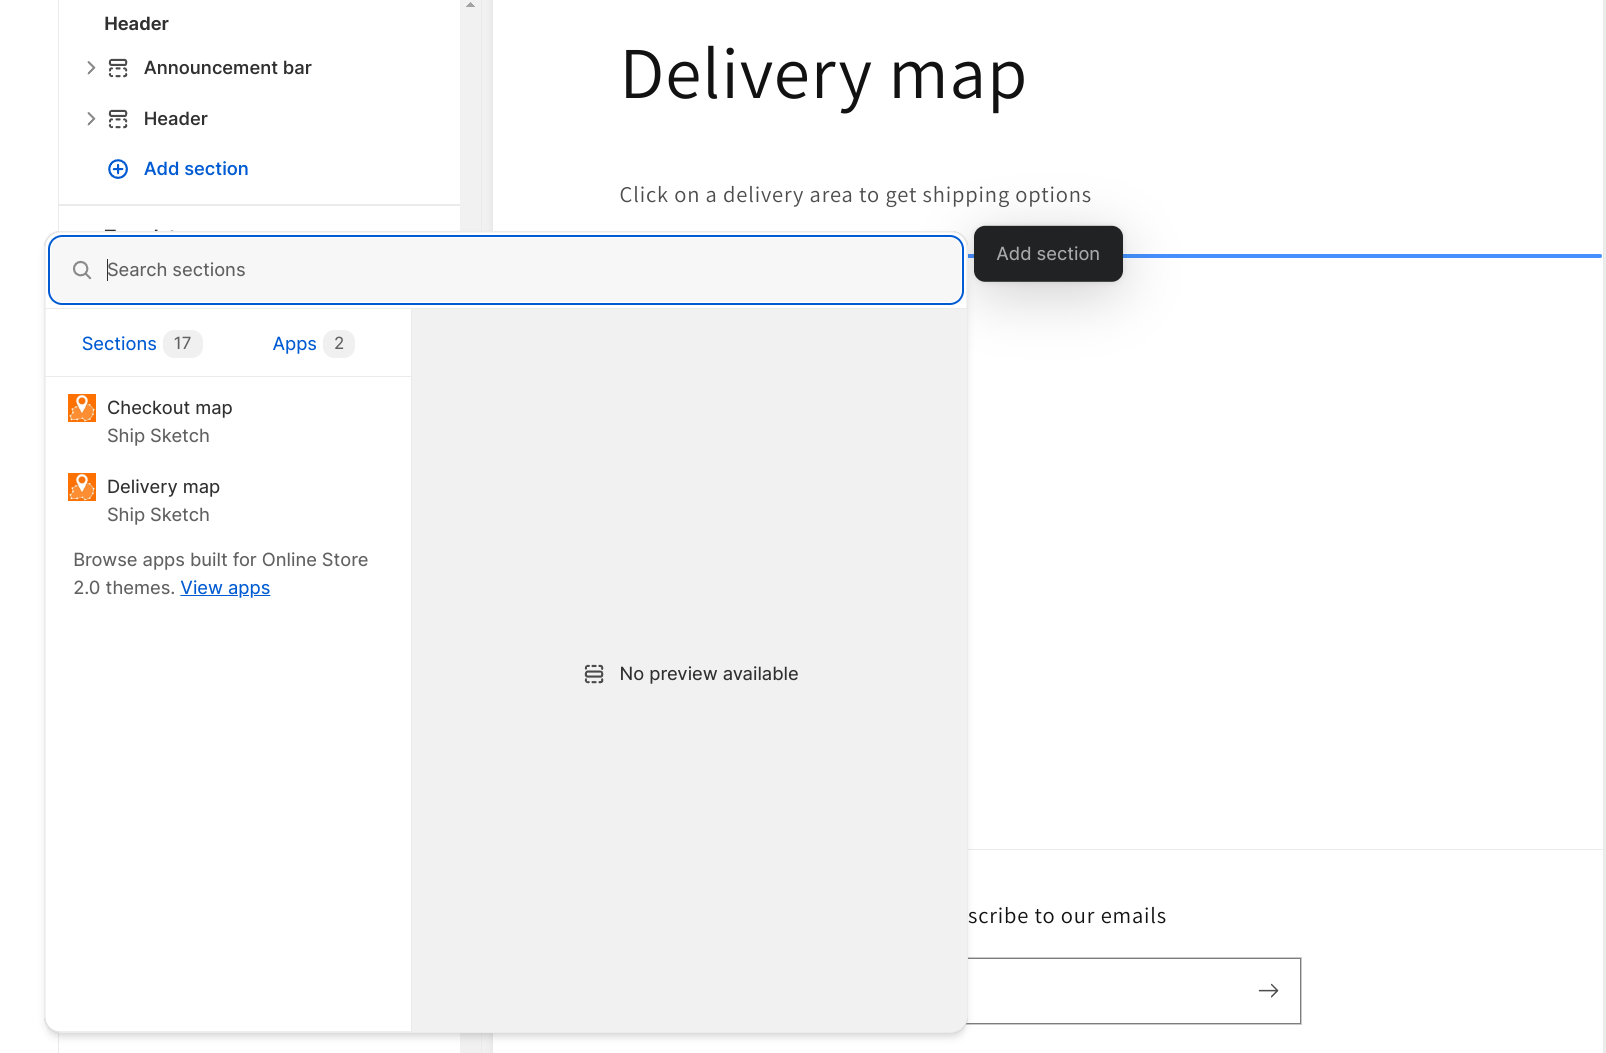
- In the dialog that opens go to the “Apps” tab and select the “Delivery map”.
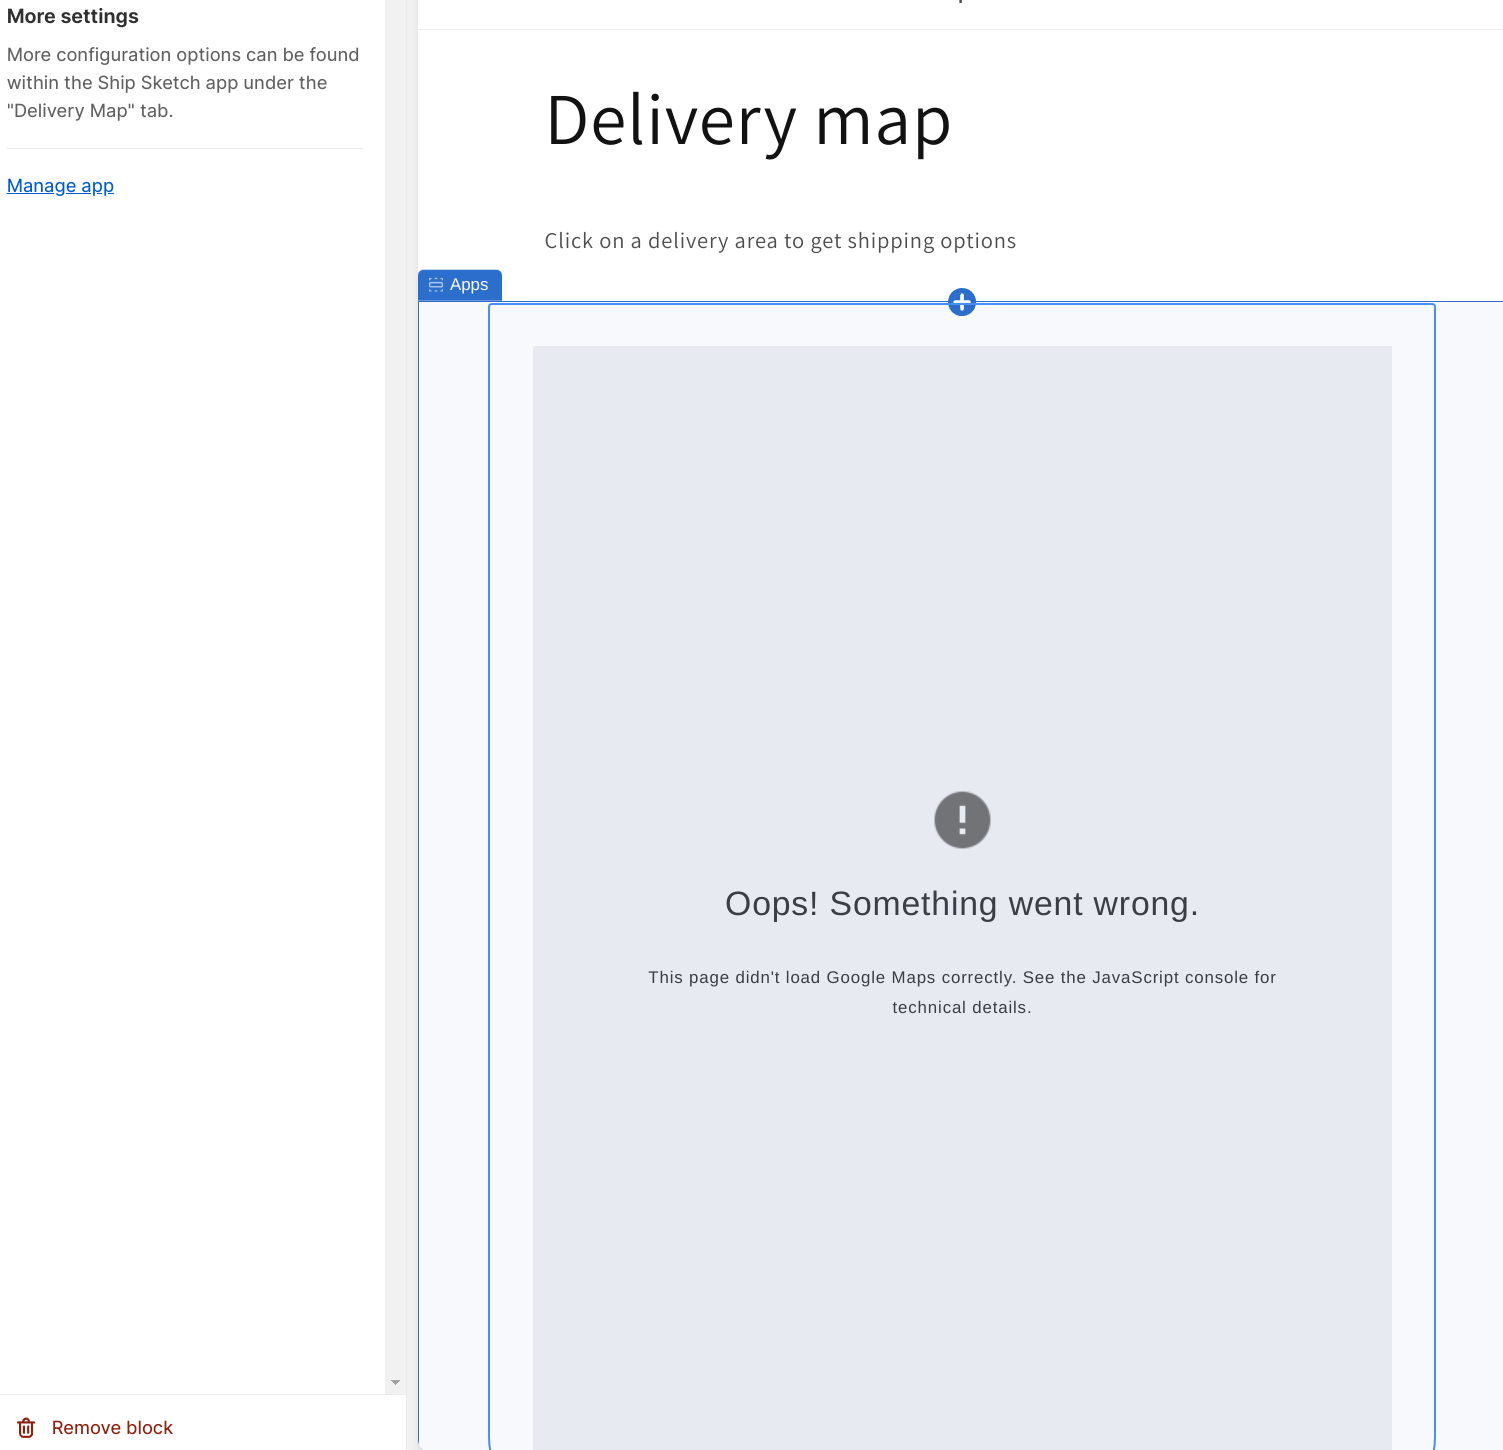
- This will add the map block to the template. Do not worry about the error message on the Google map that
says “Oops! Something went wrong”. This error is shown because we did not enable the Shopify domain (admin.shopify.com) to use the Google Maps API key when it was created.
The map should load properly when viewing it on your domain that was whitelisted when you made the Google Maps API key.
b) Manually installing a page template
If your store is using an older theme you can manually install the delivery page map theme with the following steps:
- In the admin goto “Online Store -> Themes”.
- For the theme you wish to add it to click on the 3 dots menu and select “Edit code”.
- Create a file at “Templates/page.shipsketch.delivery_map.liquid” and add the following to it:
<div style="text-align:center;margin:0 auto;max-width:1280px;padding:2em;"> <h1>{{ page.title }}</h1> <p>{{ page.content }}</p> <script type="text/javascript"> if(!ShipSketch) var ShipSketch = {config: {}, strings: {}}; ShipSketch.config.DeliveryMap = {{ shop.metafields.shipsketch.deliveryAreaMapSettings | json }}; ShipSketch.config.DeliveryMap.deliveryAreas = {{ shop.metafields.shipsketch.allDeliveryAreas | json }}; </script> <div id="shipsketch-delivery-map" style="width:100%;height:800px;max-height:calc(100vh - 140px);"></div> </div> - Now that the template is ready create a new page that uses the template. Goto “Online Store -> Pages”.
- Click on “Create new page”. This will bring you to the Shopify form to create a new page. Enter the title and content,
this will appear above the map. On the right select “page.shipsketch.delivery_map” as the “Theme template”.
Save the page, then you can see it live on your site now by clicking on the “View page” button.
