How to create and manage custom Shopify delivery areas with Ship Sketch
Learn how to use Ship Sketch with your Shopify Store. With Ship Sketch you can draw and configure a delivery area on a map and only customers living in that area will see it as a shipping option.
Table of contents
- Install Ship Sketch
- Create a new delivery area
- Create a new exclusion area
- Editing the shape of an area
- Deleting a point from an area
- Editing the settings for an area
- Deleting an area
- Moving an area
Why use Ship Sketch?
Ship Sketch lets you define your delivery options in a simple to understand visual way. You do not need to worry about borders, postal codes or other common ways to defined delivery areas. You simple draw where you deliver on a map, enter a description and cost and you are ready to start delivering. It is a great solution for stores looking to offer local delivery that they are able to fulfill themselves.
Install Ship Sketch
Install Ship Sketch from the Shopify app store.
Create a new delivery area
Use the “New Delivery Area” button in the upper right corner of the map to toggle drawing mode.

Once in drawing mode click where you want to start the shape for your delivery area. After that keep clicking to build the border of the shape.

Once your shape is complete click on the original point. This will open up a form for you to configure the options for that area.

Use this form to configure what the customers who are eligible for this delivery option will see at checkout and how much it will cost. Generally the currency code should always match the currency you sell in. You can use the active checkbox if you want to create the delivery area now but do not want your customers to be able to see it yet. After that click the create button and then the save button in the top right to save your changes to the server.

Create a new exclusion area
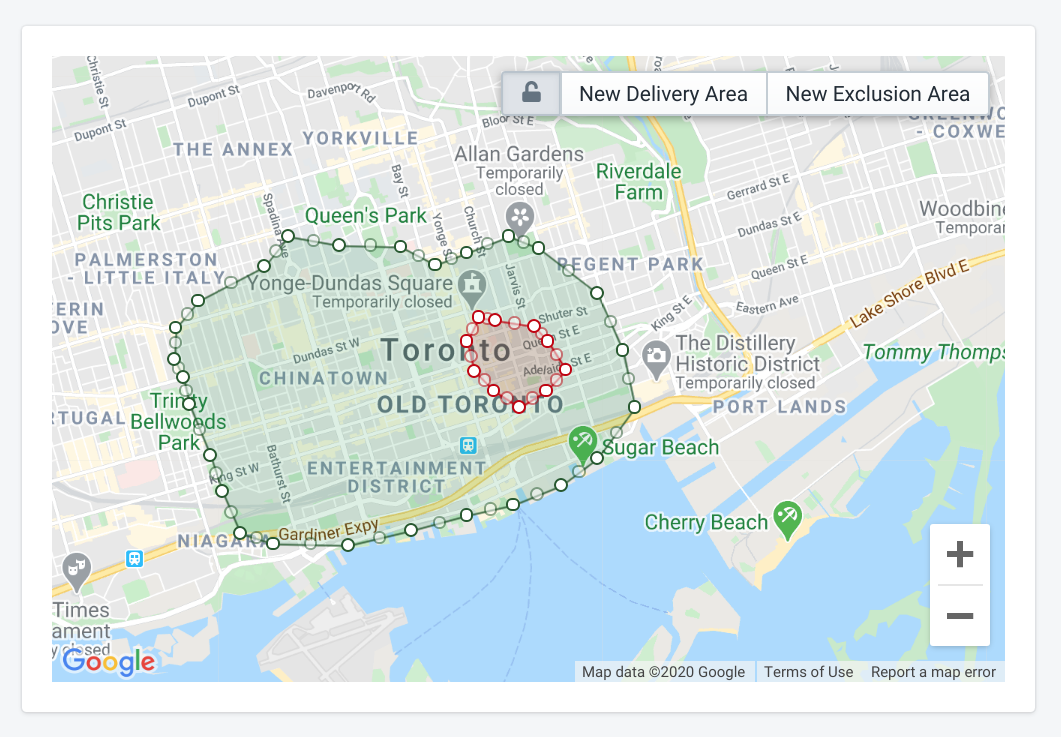
Exclusion areas are used when there are pockets within your delivery areas that you do not want to deliver to. Any address within an exclusion area will not see any delivery options. To get started use the “New Exclusion Area” button in the top right and then follow the same steps as creating a delivery area. Once complete it will look like this:

Editing the shape of an area
To toggle edit mode for your current shapes click on the lock button in the top right.

Once in edit mode you can drag an existing point to move it, or drag one of the faded out points between 2 existings points to create a new one.

When you are satisfied with your changes use the “Save” button in the top right to send your changes to the server. If are not happy with them then use the discard button to revert your changes.
Deleting a point from an area
When in edit mode you can right click on a point to open a delete menu, or if you are on a mobile device long touch on the point.

Editing the settings for an area
To edit an areas settings click on the area and this will open a form where you can make your changes. When done use the update button and then click “Save” in the top right to send your changes to the server.
Deleting an area
To delete an area click on it to open the edit form and then click the “Delete” button. It will not be permanent until you click the save button in the top right to send your changes to the server.

Moving an area
To move an area hold down the CTRL key and then you can click and drag the area.