Material Manager Quick Start Guide
Starting syncing your raw material and Shopify inventory levels effortlessly with Material Manager
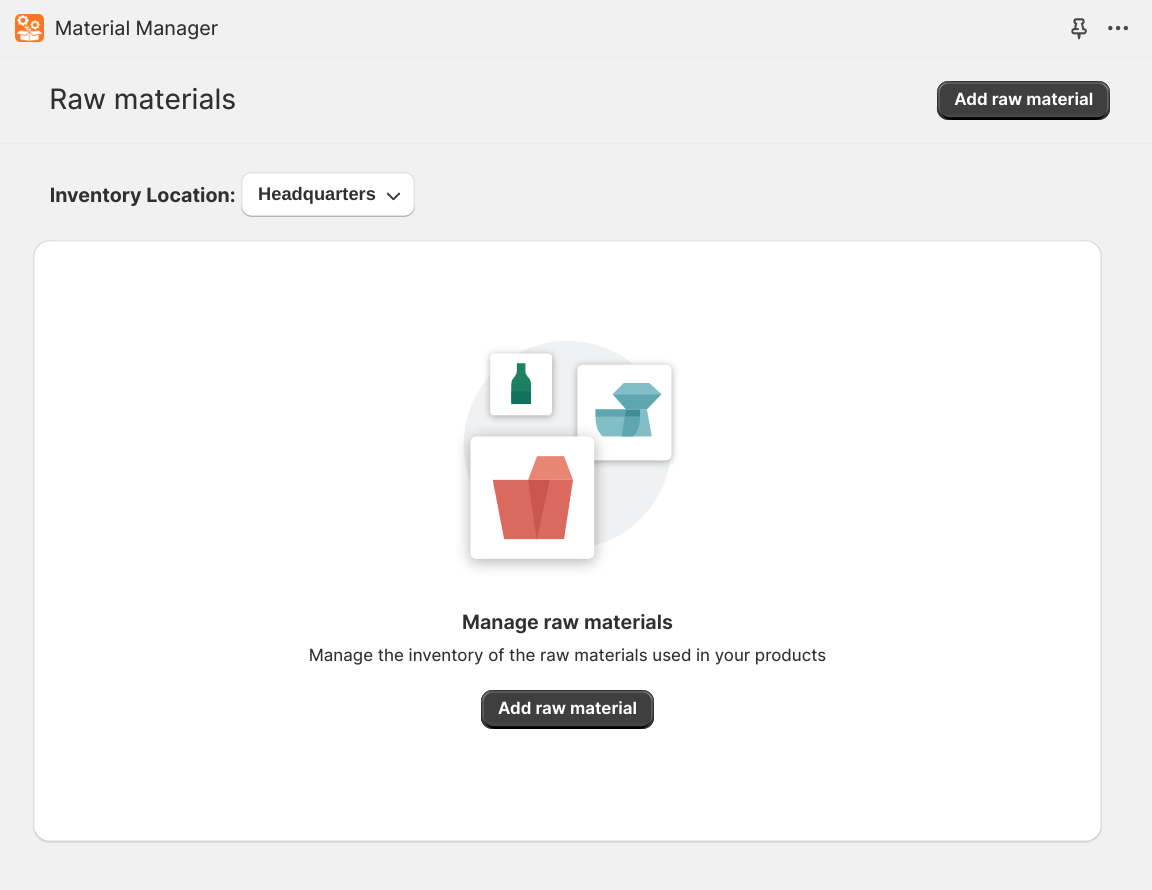
Add raw materials
The first thing to do after installing the app is to add some raw materials. Click on the “Add raw material” button.
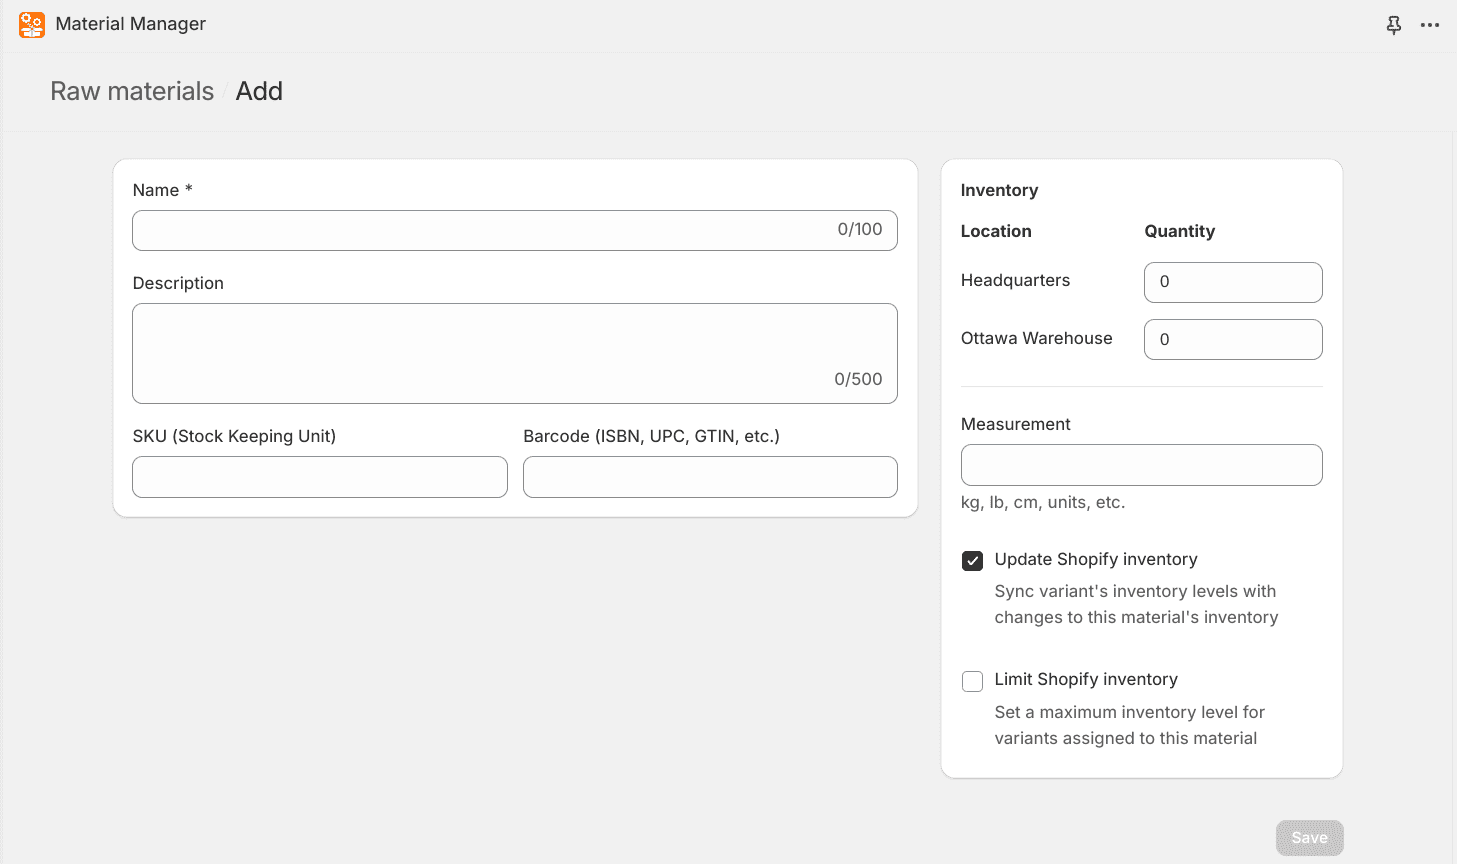
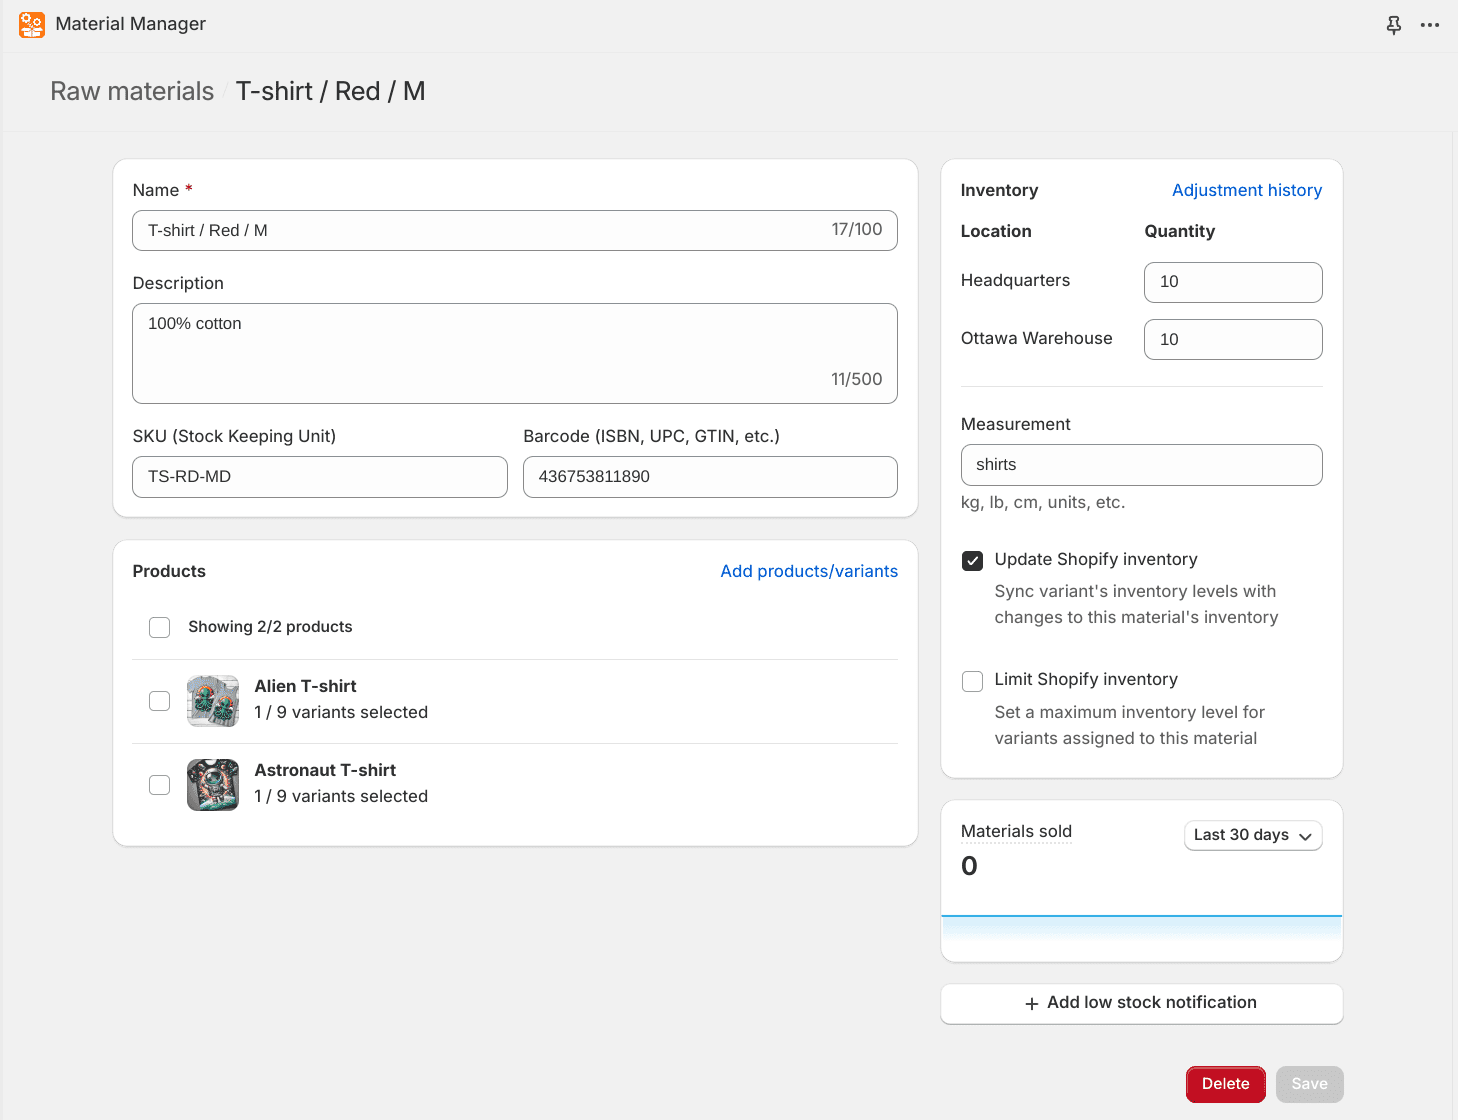
This will bring you to the add material screen where you can fill in the details for your raw material. You can also add the inventory level for the raw material at each of your locations.
Add product variants to the raw material
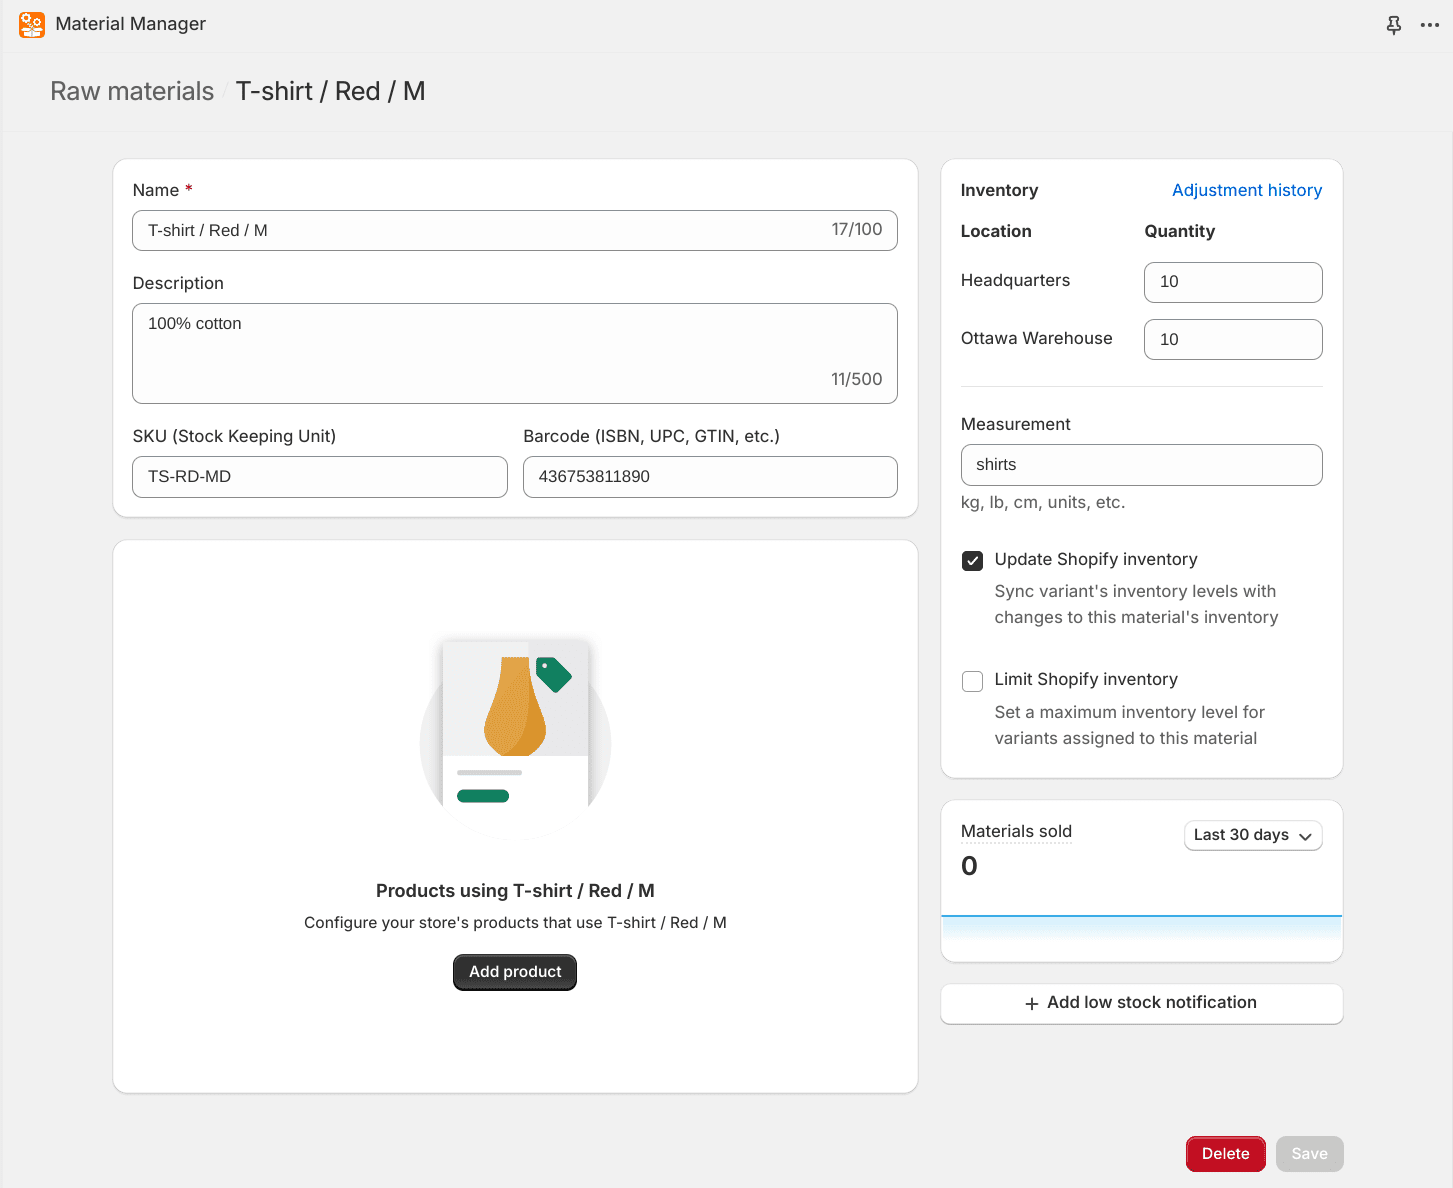
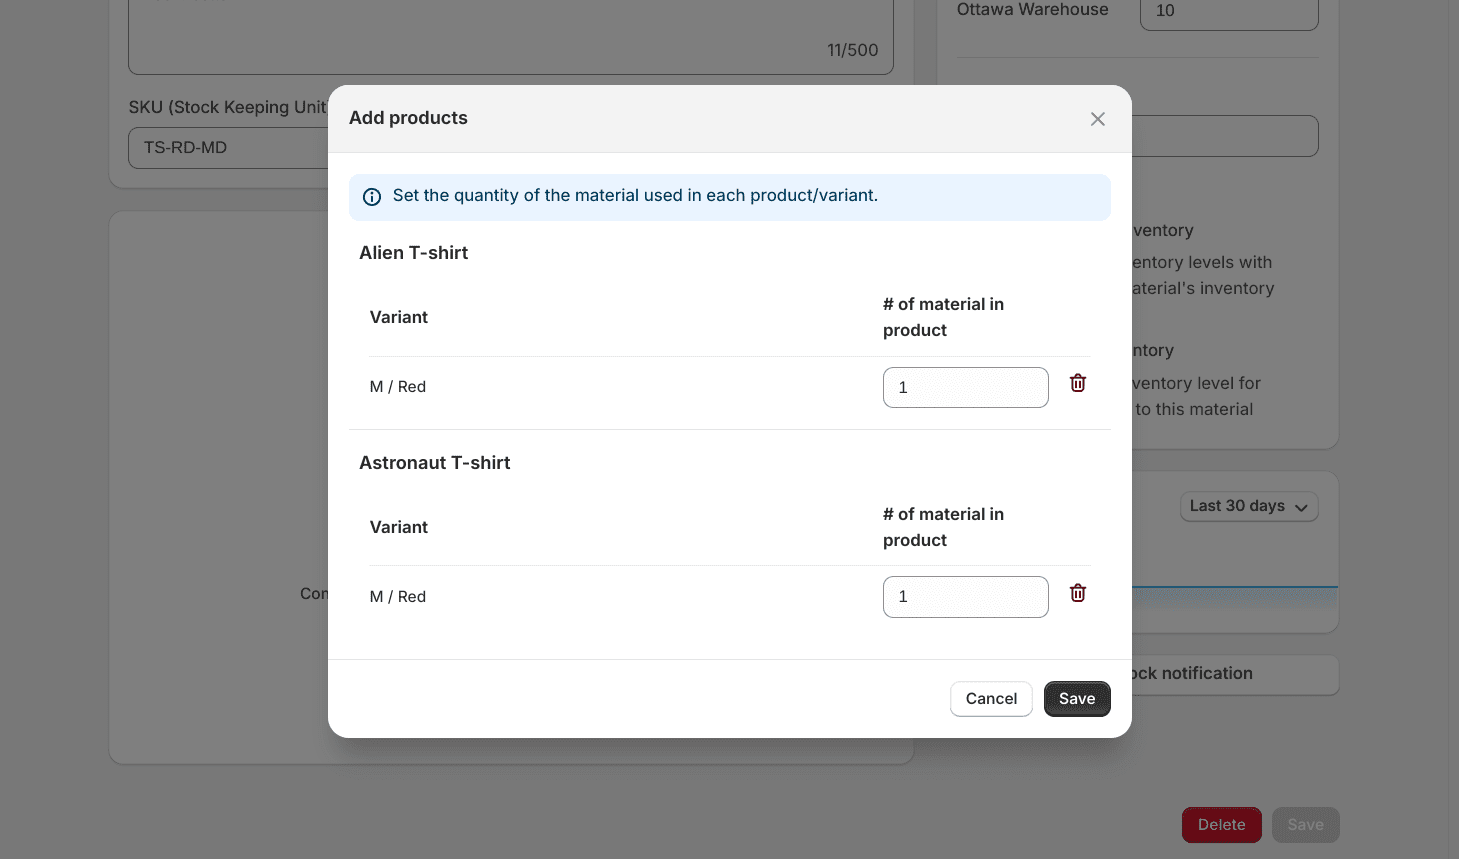
After adding the raw material add the Shopify product variants that use the material to it. Click on the “Add product” button.
This will open up a dialog that will allow you to search through and assign multiple Shopify product variants to the raw material.
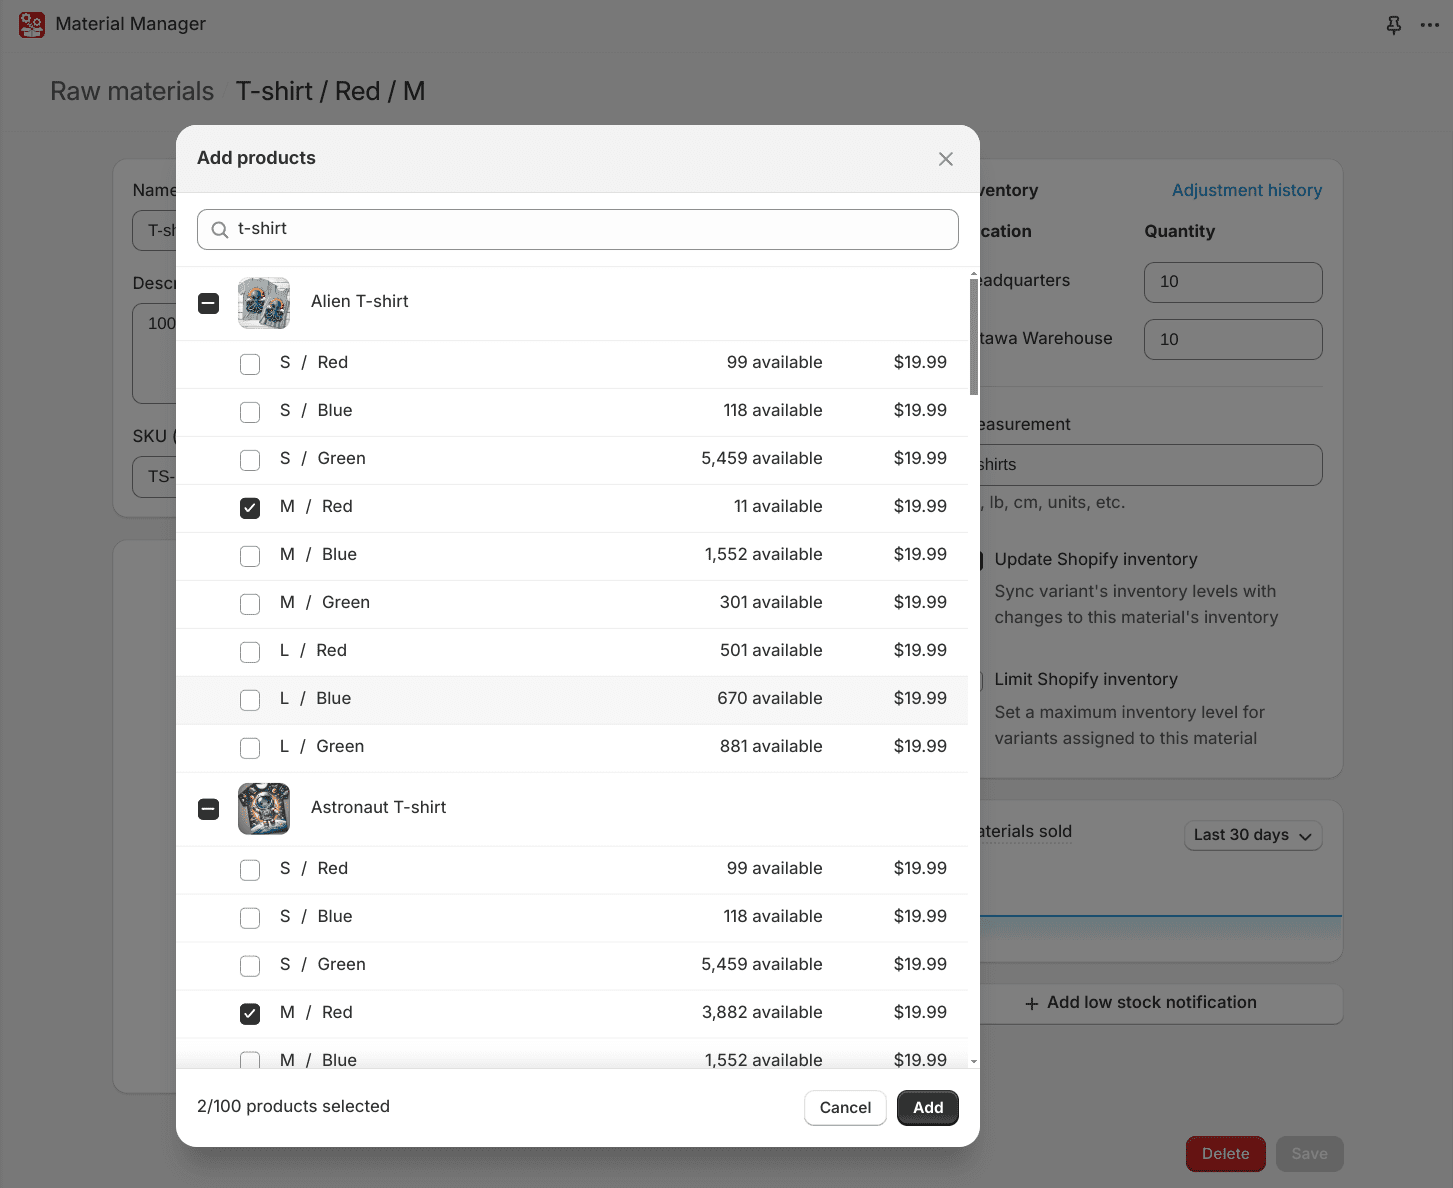
Once the variants are selected you just need to fill in how much of the raw material each variant requires. In this example each variant requires 1 t-shirt to make the final product.
After adding the variants to the material their inventory levels will automatically be updated.
Add raw materials to a product from the Shopify product page
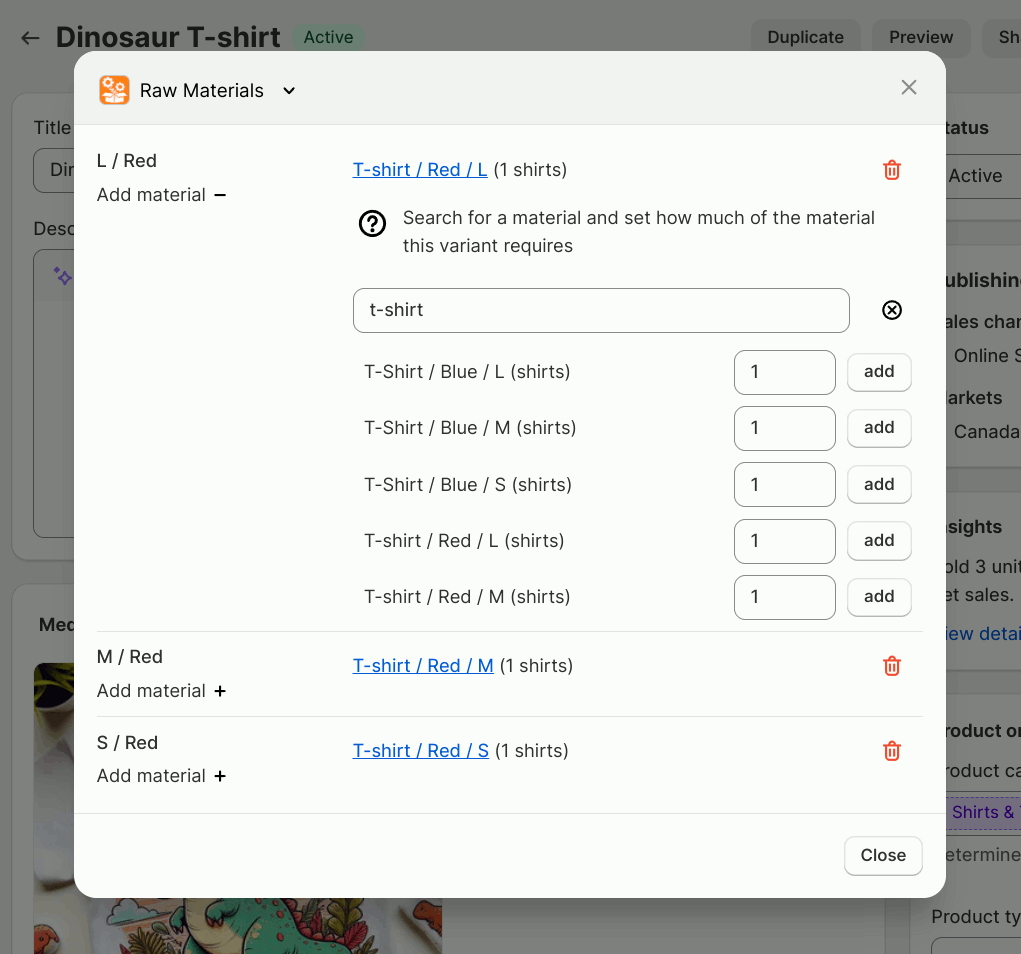
You can also view/edit all the raw materials assigned to a product’s variants when viewing the product in the Shopify admin. On the product page in the top right click on the “More actions” button and then select “Raw Materials”.

This will open a dialog that will allow you to see and manage all raw materials assigned to that product’s variants.
To add a new raw material to a variant use the “Add material” link on the left. Search for the raw material, set the quantity used by the variant and click the “add” button.
To remove a raw material from a variant use the trash icon next to the material.
Pre-assembled inventory
Material Manager supports on-demand assembly, pre-assembled inventory, or both. If you assemble products in advance, you can manage a separate inventory level for the pre-assembled variants. Learn how to manage pre-assembled inventory.
Inventory level updates
When a variant is assigned to one or more raw materials it’s inventory level is set to the maximum amount of products that can be created based on all the raw materials required.
Note that inventory is only updated for variants that meet the following conditions:
- The variant has the “Track quantity” option selected.
- The inventory levels for the variant will only be updated at locations where that variant is stocked.
Shopify events that change the inventory levels of raw materials
When orders are created, the inventory levels of the raw materials will be decreased by the appropriate amount. Decreasing the quantity of the raw materials in the order will also trigger updates to the inventory levels of all products that use those materials.
If a variant has pre-assembled inventory available, then that will be used first to fulfill the order before using raw materials.
When an order is cancelled, refunded, returned, or products are removed from it, the inventory levels of the raw materials will be increased if the ‘Restock’ option is selected.
Time-saving tools for bulk setup
- Import Materials from CSV files: Add or update multiple materials at once by uploading a spreadsheet. Perfect if you’re migrating from another system or inputting a large number of materials.
- Creating materials from existing products: Do you have products that are already set up in Shopify that you want to use as a material in other products? You can import existing products to use as materials within the app.
- Copy Materials Between Products: Selling similar products? Copy material associations from one product to another. The app automatically matches variants by options such as size, color, style, etc.